Winter is garlic planting time. The shortest day is like a non-specific marker that reminds me to plant the garlic some time in the near future. I usually end up doing it in late June or early July. This year I am doing a combination of what to do and what not to do with garlic. Obviously, I planned it that way for educational purposes…
When I went to get my saved garlic bulbs from last season out of the potting shed I had a problem. They were rotten. WHAT?! It turns out you shouldn’t chuck your carefully chosen, largest garlic bulbs from your harvest onto a shelf in the potting shed and forget about them until planting time. Mind you, I don’t think it was so much of a storage issue as a way-too-much-rain-just-before-harvest issue. I should have known and checked them since some of the rest of our garlic hung for cooking went squishy and mouldy. Silly Twiglet.
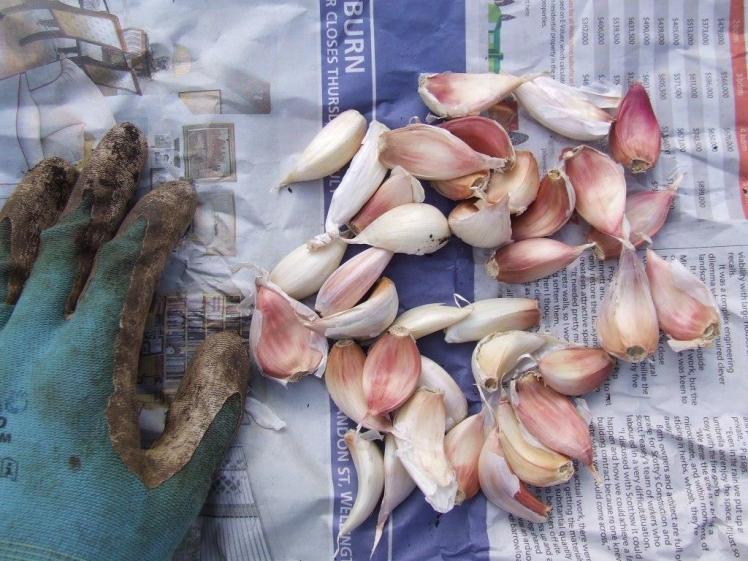
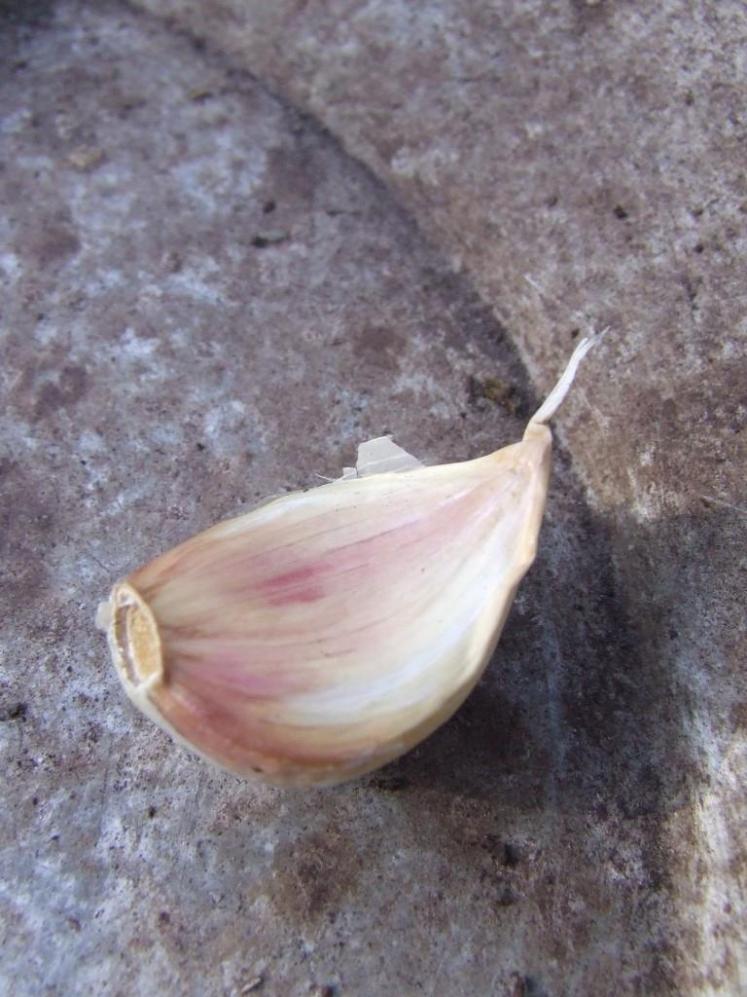
It was almost mid-July and I suddenly had to face the problem of finding seed garlic to plant. I was late for a very important date and I had to scramble to find some. I quickly bought some heirloom Kakanui garlic from Trade Me. 30 cloves. I haven’t tried this one before so I thought I better get some of the usual Printanor garlic too. The stuff I could find in store was a little small but it would have to do. Then, when I went to throw away my munted saved garlic, I discovered, on closer inspection, that some of the cloves were actually ok, so I set aside the good, big ones and biffed the rest. Except for the small ones that were ok; they went into the kitchen for culinary purposes. I suppose these second-chance cloves will be more at risk of rotting in the ground but it’s ok, I have back-ups! Suddenly, things were looking far better in the garlic department with three lots to go in.

Before planting the garlic I needed to replenish the soil back to the top of the raised bed. Yes, I was supposed to do this some while before planting the garlic. Yes, I think I did the same thing last year. Another what not to do. For educational purposes. But, never mind, because this is where I got excited about a pile of brown stuff. And no, it wasn’t poop this time. Although it was slightly weedy on top, the oldest compost pile contained beautiful, dark, ready compost. I made good compost! Woop woop! Well, to be fair, the pile was started before we bought the place last year, but we added a lot to it, also, The Husband turned it once, so I should say we made good compost. One of the main factors leading to this amazing brown pile was a good combination of ‘browns’ and ‘greens’ that were added to it; ‘browns’ (small branches, dead leaves, poopy wood shavings and hay from the chickens, soil or compost, wood ash, etc.) being of a greater percentage. It is a lot easier to get plenty of ‘browns’ on a property of this size thanks to the never-ending supply of prunings and chicken litter.

So, there I was, all excited about my pile of brown stuff, when along came The Little Fulla, who was even more excited about it. While The Husband helped shovel compost into the wheelbarrow, The Little Fulla grabbed clumps of brown stuff, squelched it in his wee hands and ate it. Er, did someone order a large dose of immunities? Then he crawled over to the vege bed (The Little Fulla, not The Husband) and discovered that we were putting more of the exciting brown stuff in there. So much excitement! A big clean-up of our browned child followed.


Later, when I was free to poke around in the garden by myself, I planted out the garlic cloves. There were rain showers off and on, so I had to run between the vege garden and the potting shed a few times like a mad hatter. I used plastic netting to space the cloves evenly without having to look like a dork with a tape measure. Plenty of time for that later. I planted one clove in the centre of every second ‘square’, which made them 10cm x 11cm apart, ideal for the deep bed method, but I staggered the rows to give them slightly more space.

Using these grids was extremely satisfying to my orderly nature and as a bonus, leaving them there until the garlic starts to pop up deters cats from digging in there. I didn’t put them all right next to each other in case of random disasters or misadventures. Lets hope that it’s not so wet around harvest time this year. And do you know how many garlic cloves I have planted? I have 34 Kakanui, 14 of my Printanor and 13 of the store-bought Printanor. That’s 61 cloves of garlic. Exxxcellent.


I think it looks great 😄
LikeLike
Thanks Julie! The vege garden is in its early days but I’m slowly making progress. Kind of like a sloth…
-Twiglet
LikeLiked by 1 person
😄
LikeLike