I’ve had the ingredients and recipe for making beeswax wraps sitting on my desk for a while, waiting to be done. I hadn’t made beeswax wraps before and I didn’t want to start them then go into labour and have them half done or messed up. But, since Little Seedpod has no regard for due dates or any kind of negotiations, I decided to make the wraps the day after my due date had sadly passed. It was pouring with rain and I had to do something to keep my mind off the fact that the baby had STILL not arrived.
Edit: Forgetting that not everyone is acquainted with beeswax wraps, I forgot to talk about what they are. Oops! Can we blame the baby on that? Beeswax wraps are an alternative to plastic wrap or cling film, to cover plates, bowls, dishes or jars of food to put in the fridge. I think the only things you can’t really cover with them are raw meat (because of the bacterial risks) and fish (the smell will never go away…). Foods with strong leaking colours like blueberries can stain them. After use you wash them in cold water with detergent and hang them on something to dry.
The recipe I used is The Best Reusable Beeswax Wrap Recipe by Mountain Rose Herbs.
The ingredients required are:
- Beeswax pastilles or grated beeswax
- Pine rosin
- Jojoba oil
I sourced my ingredients from Pure Nature. If you would like to order any ingredients from them, feel free to use our referral code by clicking here. This gives you $10 off your first order and gives us some rewards points. They sell essential oils and ingredients and DIY kits for making cosmetics, balms, soaps, candles and more.
The other items required are:
- 100% cotton fabric
- Pinking shears if you want tidier edges
- New paint brush
- Parchment paper

The process is pretty straightforward but you do have to work quickly before the wax mixture sets, so you don’t want to have a lot of distractions going on if you’re doing it for the first time. I doubled the recipe so I could make more wraps and I ended up with some wax mixture left over, which I could re-melt another time. I got out some of our plates and dishes to figure out roughly what size wraps would be useful for covering them, allowing some extra width for food to be covered. I want to make more, especially since I have an enticing collection of various cotton fabrics in small amounts, but figured I shouldn’t start with tooooo many.
Now, before you go cutting up squares, rectangles, circles or whatever shape takes your fancy, I learnt that you must first wash your fabric. I learnt that by cutting all my pieces ever so nicely with the pinking shears, then washing them. The edges frayed. I cut some of the sides again but didn’t want to do them all again. So, wash your fabric first!
I did six wraps of varying sizes according to what size scraps of fabric I had and what I wanted them to be able to cover. These are the sizes I ended up with:
- 20x17cm
- 22x17cm
- 23x25cm
- 32x37cm
- 36x36cm
- 35x40cm
Making the wax mixture to coat the wraps involves melting the three ingredients (beeswax, pine rosin and jojoba oil) together in a double boiler. I ground up the pieces of pine rosin with a mortar and pestle first. This helps them to melt faster and it doesn’t take long. The beeswax and the pine rosin smell lovely.

Beeswax. 
Pine rosin. 
Grinding the pine rosin. 
Jojoba oil. 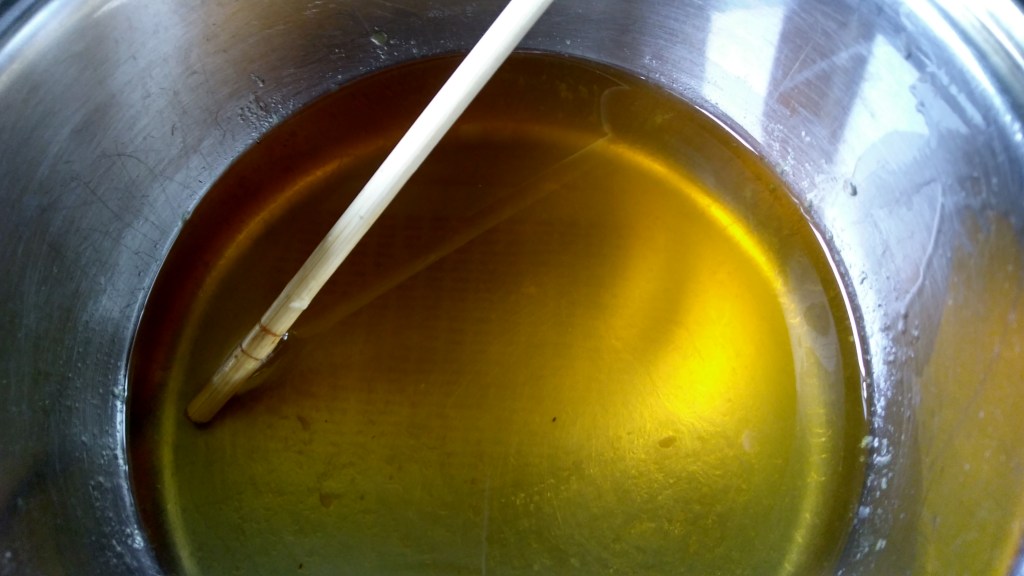
Melted wax mixture.
The wraps are going to go into the oven so the wax mixture will soak through them. Placing parchment paper onto baking trays saves you from cleaning up a bunch of wax from the trays. Once the wax mixture is all melted together you have successfully made the kitchen smell amazing, like you’re in a cozy, beeswaxy pine forest. You paint the wax mixture onto the pieces of fabric with the paintbrush, just on one side. You have to do it quickly so the wax doesn’t set too much and not too thickly so the coating doesn’t end up with uneven areas of excess wax. The wax will distribute more in the oven and you can add more after if you need to. When done I waved each wrap around in the air a bit then hung it up on a clothes rack to dry, which doesn’t take very long.
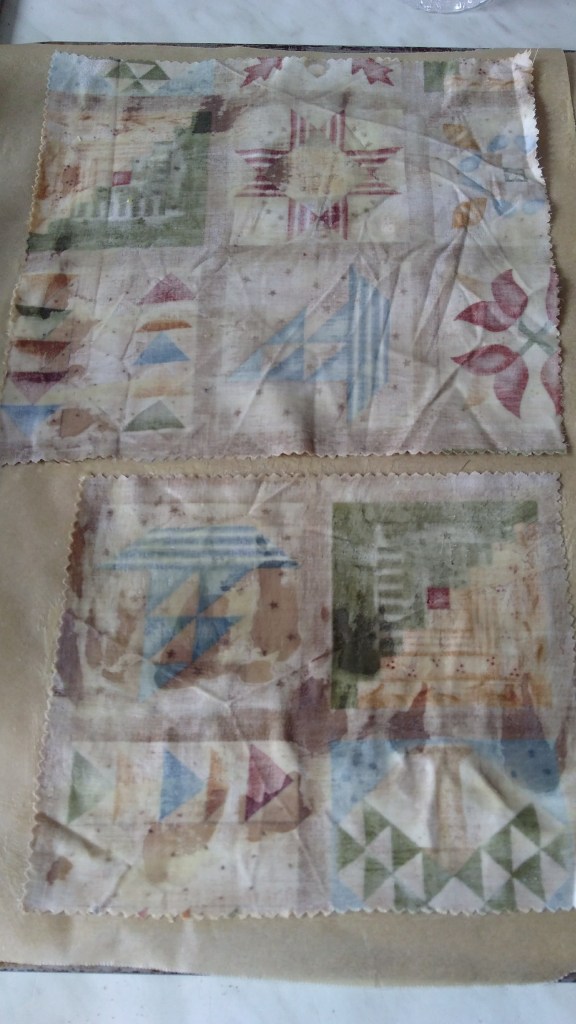
Fabric painted with wax mixture, ready to go into the oven. 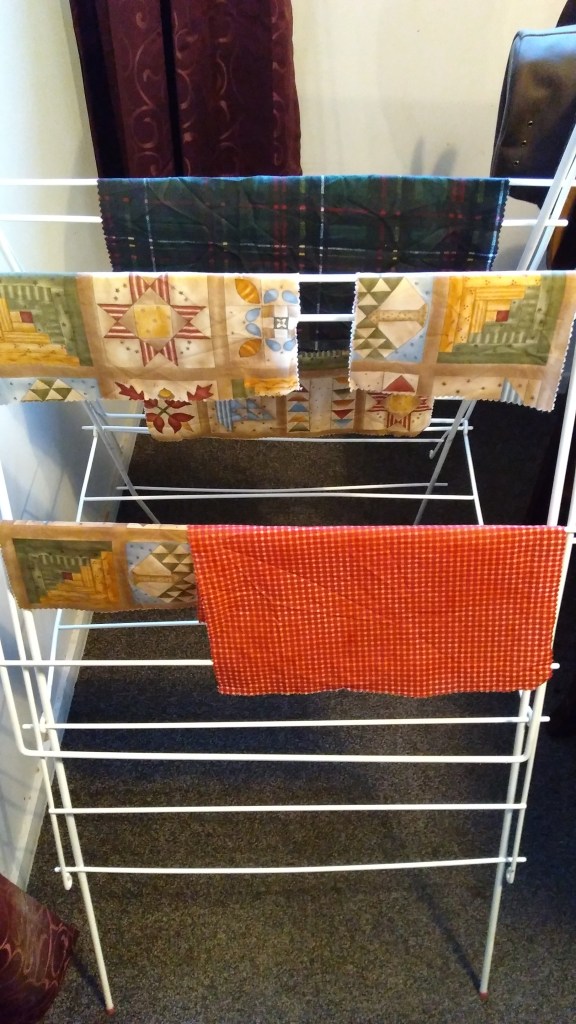
Beeswax wraps hanging up to dry.
The red colour in the red and white gingham fabric ran a bit onto the parchment paper so that is a possibility with some fabrics, even after washing them. I don’t know if it makes a difference which side you paint the mixture on. I painted them all on the bottom side. The wax mixture makes the fabric look a bit darker once finished, which doesn’t make too much difference except on quite dark fabrics. My dark green plaid wrap looks decidedly more black than the fabric was. The first couple of wraps I did had a few uneven patches that will sort themselves out over time, but overall I’m very happy with how the beeswax wraps turned out. And I definitely want to make more.


I have never heard of these before…how do you use them/what are they for?
LikeLiked by 1 person
Sorry, I forgot to actually talk about that part! You use them as an alternative to plastic wrap, to cover plates, bowls, dishes or jars of food to put in the fridge. I think the only things you can’t really cover with them are raw meat (because of the bacterial risks) and fish (the smell will never go away…). Foods with strong leaking colours like blueberries can stain them. After use you wash them in cold water with detergent.
LikeLike